Taking professional-quality cat photos at home is not only convenient but also allows you to capture the true essence of your feline friend in a comfortable setting. Whether you’re using a smartphone or a DSLR, understanding how to work with lighting, composition, and camera settings will help you create stunning images. In this guide, we’ll explore everything you need to know to take high-quality cat photos at home.
Setting Up a Home Photography Studio
Creating a dedicated space for cat photography at home ensures consistent and high-quality results.
Choosing the Right Spot
- Select a well-lit area with plenty of natural light
- Avoid cluttered backgrounds that distract from the subject
- Use neutral-colored backdrops for a professional look
Essential Equipment
Camera Options:
- DSLR or Mirrorless Camera: Ideal for sharp, high-quality images
- Smartphone: Works well with proper lighting and editing
Lighting Tools:
- Natural Light: Position your cat near windows for soft, even lighting
- Ring Light or Softbox: Helps in low-light conditions
- Reflectors: Balances shadows and enhances details
For more lighting tips, check out our guide on What Are the Best Camera Settings for a Cat Photoshoot.
Best Camera Settings for Indoor Cat Photography
Using the right camera settings will enhance the sharpness, clarity, and depth of your cat photos.
Recommended Camera Settings
Shutter Speed: 1/250s or higher
- Prevents motion blur, especially if the cat is moving
Aperture: f/2.8 – f/5.6
- Creates a shallow depth of field for a blurred background
ISO: 400-800
- Maintains image clarity without introducing too much noise
White Balance: Auto or Custom
- Adjusts according to indoor lighting conditions for accurate colors
Posing Your Cat for the Best Shots
Getting your cat to pose naturally can be challenging, but patience and creativity will help you capture their best moments.
Recommended Poses
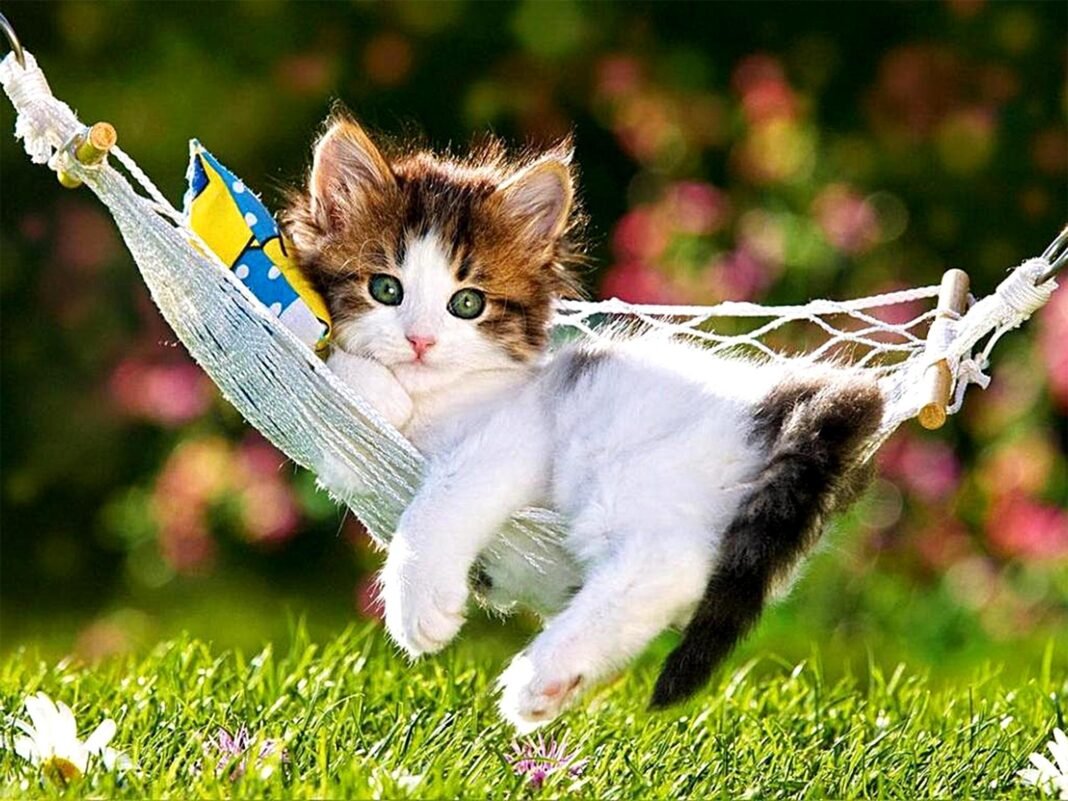
The Relaxed Lounging Pose
- Captures the cat in a cozy and natural state
- Works well on soft surfaces like beds or couches
The Playful Action Shot
- Engages the cat with toys to capture movement
- Burst mode can help freeze quick actions
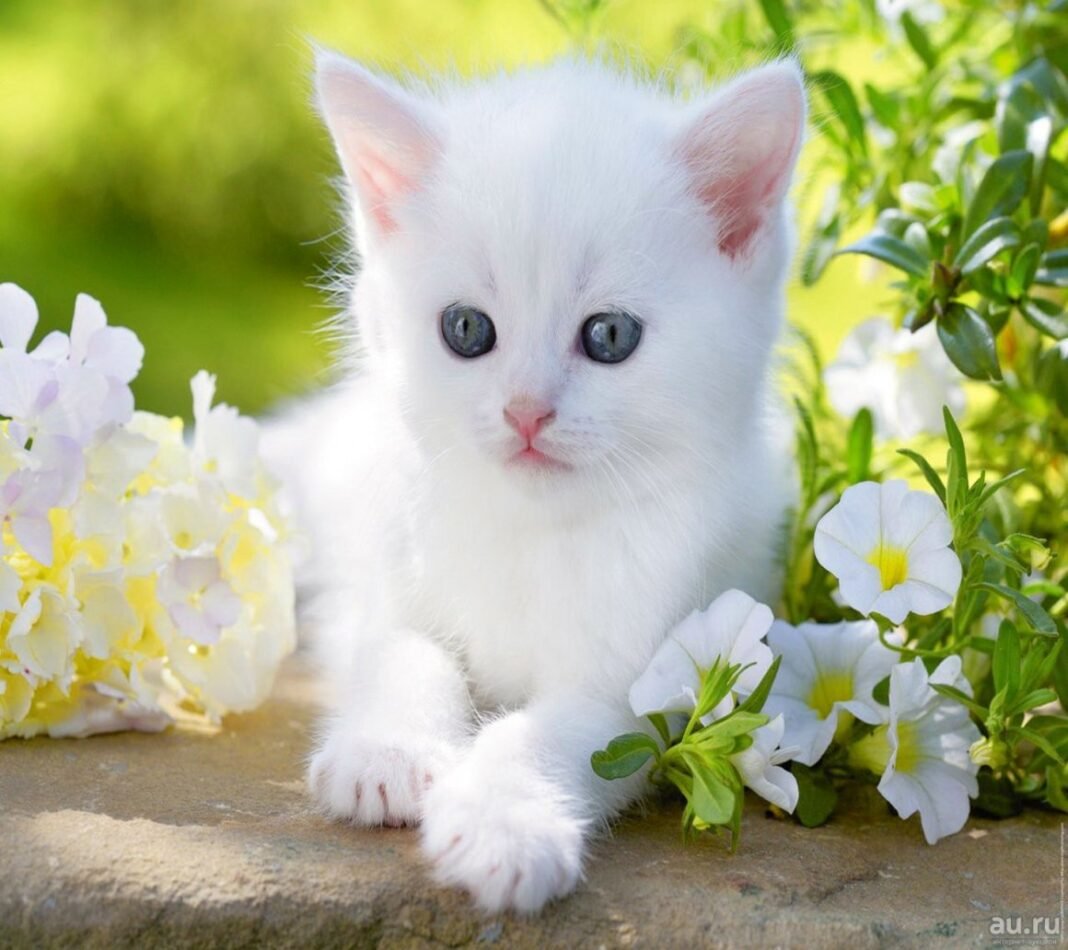
The Close-Up Portrait
- Focuses on detailed features like whiskers and eyes
- Best taken with a macro lens or portrait mode
For more pose ideas, check out our guide on What Are the Best Poses for a Cat Photoshoot.
Editing Cat Photos for a Professional Look
Post-processing enhances your images and gives them a refined, professional appearance.
Editing Tips
- Adjust brightness and contrast to improve details
- Enhance fur texture with selective sharpening
- Remove distractions in the background for a cleaner look
- Apply subtle color corrections for natural skin tones
Common Mistakes to Avoid
Even professional photographers make mistakes, so being aware of common pitfalls can help improve your photos.
Mistakes and Solutions
- Using Harsh Flash: Stick to soft natural or artificial lighting
- Cluttered Backgrounds: Use minimal or neutral settings
- Forcing a Pose: Let the cat act naturally for genuine expressions
Conclusion
Mastering cat photography at home requires patience, the right settings, and a comfortable environment for your feline friend. By using natural light, adjusting camera settings appropriately, and capturing your cat’s personality, you can take stunning professional-quality cat portraits from the comfort of your home.
At Love My Shot, we are passionate about helping pet lovers and photographers enhance their skills to create beautiful, lasting memories. Try these home photography tips and showcase your cat like a pro!


